This is much quicker to do than the first tutorial, as it only shows you how to edit other files or objects that are already created.
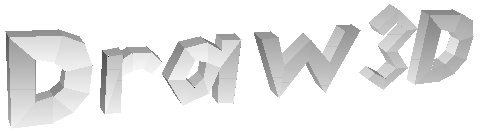
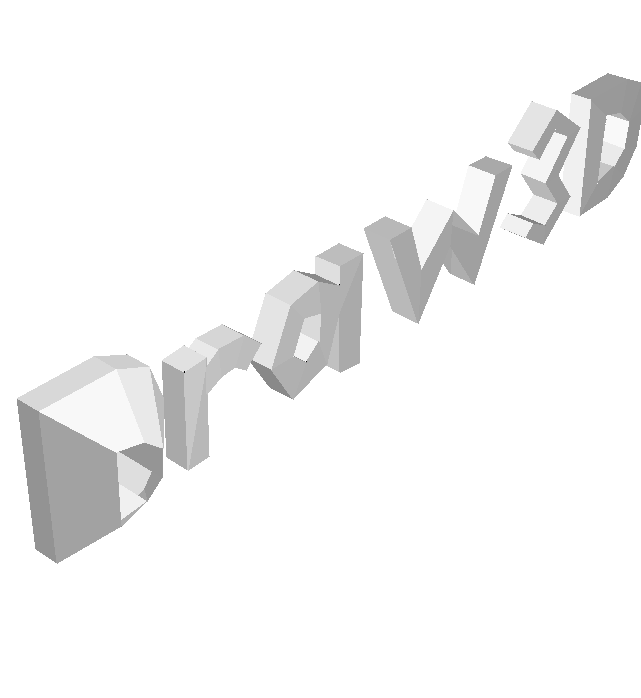
Here is the file 'Draw3D.3D', along with what we will make from it:
This will be done by selecting all the vectors that we want to extrude, and simply change to Move Mode, and move them along the Z axis. This will be done to both sides of the first letter 'D' in Draw3D.
First step is to open Draw3D, and to open the file 'Draw3D.3D'. When files are opened, they are automatically made as the selection. Changing to Select Mode and clicking anywhere will de-select a selection.
To select the correct vectors is actually harder than you may think. You need to select only the vectors in the 'D' letter that are facing one way. The problem is that too many vectors are mixed near each other, making it hard to select the ones we want. It can be done by rotating & zooming and moving the vectors in D around. However, this can be left for you to try. This tutorial will show you how to individually select each vector into the selection, before we move it all.
Change to 'Zoom' Mode by pressing either 'Z' or clicking on the Zoom button on the toolbar or clicking on Zoom mode in the Mode menu.
Zoom into the 3D View (by holding the left mouse button down and slowly dragging the mouse down), so that each letter takes up the height of the 3D View.
Change to 'Move' Mode by pressing either 'M' or clicking on the Move button on the toolbar or clicking on Move mode in the Mode menu.
Move the 3D View to the right (by holding the left mouse button down and slowly dragging the mouse to the right), so that the first letter ('D'), will take up the entire 3D View.
Change to 'Select' Mode by pressing either 'S' or clicking on the Select button on the toolbar or clicking on Select mode in the Mode menu.
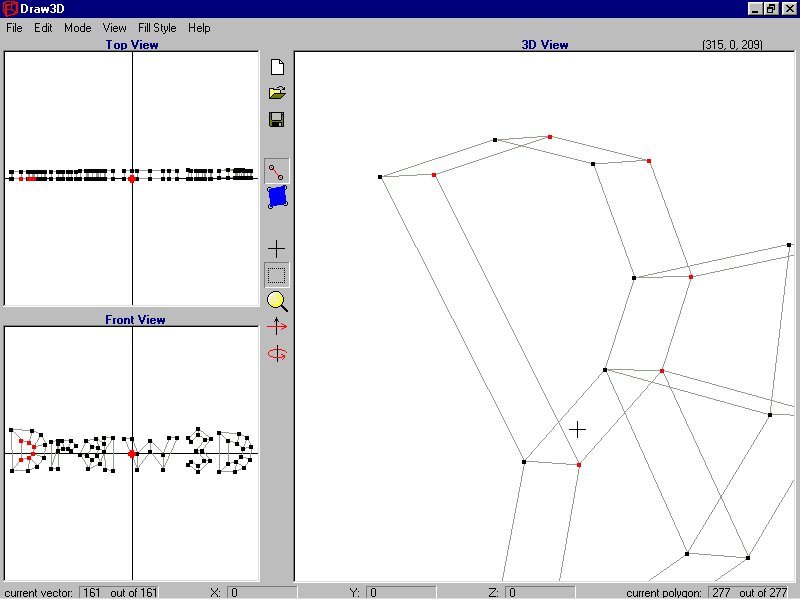
Make a selection of one or more of the vectors that are on the inside of the 'D', and are facing you. (Select vectors by holding the left mouse button down while you drag the mouse over some vectors). After you have your first selection, use the right mouse button to select the next vectors. This will add the new selections to the existing selection, instead of creating a new selection. Make sure you select every vector that is inside the 'D', and is facing you. You can verify that you have selected the correct vectors by either rotating the 3D View to see what you selected, or by looking at the Top & Front Views. The Top View should show only vectors on the bottom of the 'D' as red, and the Front View should show only the vectors inside the 'D' as red. Here is what you should result in:
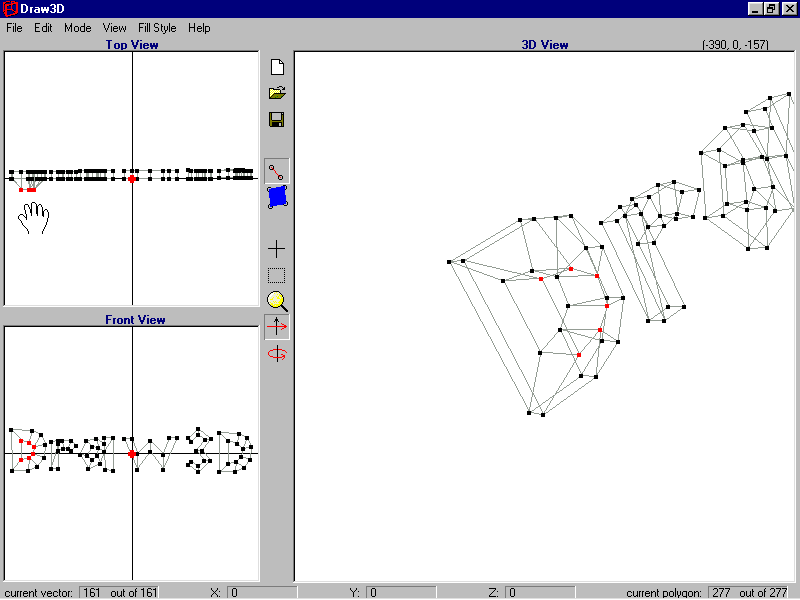
Now that the correct vectors are selected, you can simply move the selected vectors to wherever you want: Change to 'Move' Mode. Move the Top View down, so that the selected vectors are about 0.5cm below where they used to be. You now should have this:
Now that one side is done, you simply do the same to the other side (by selecting the vectors away from you, and dragging them up in the Top View).
Congratulations!! You have completed the second Draw3D tutorial! You should now be able to open 3D files, and modify them to your needs.
If you have any trouble with Draw3D, or any comments or ideas, you can e-mail me.
by Shervin Emami, shinab@eisa.net.au